Users
In the users section you will see both a Members sub-section and an Invites section. You will also see the User Settings in the top right corner.
Members
The member tab, shows the current users attached to the account.

You will see the contact name, email address, and company name for each of the users on the account.
Member Detail
To Delete or Edit the user, right click on the username.
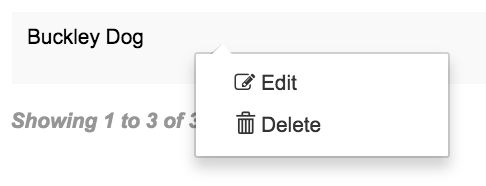
Select Delete to delete the user or Edit to see the user detail. If you open the user detail you will see the below.
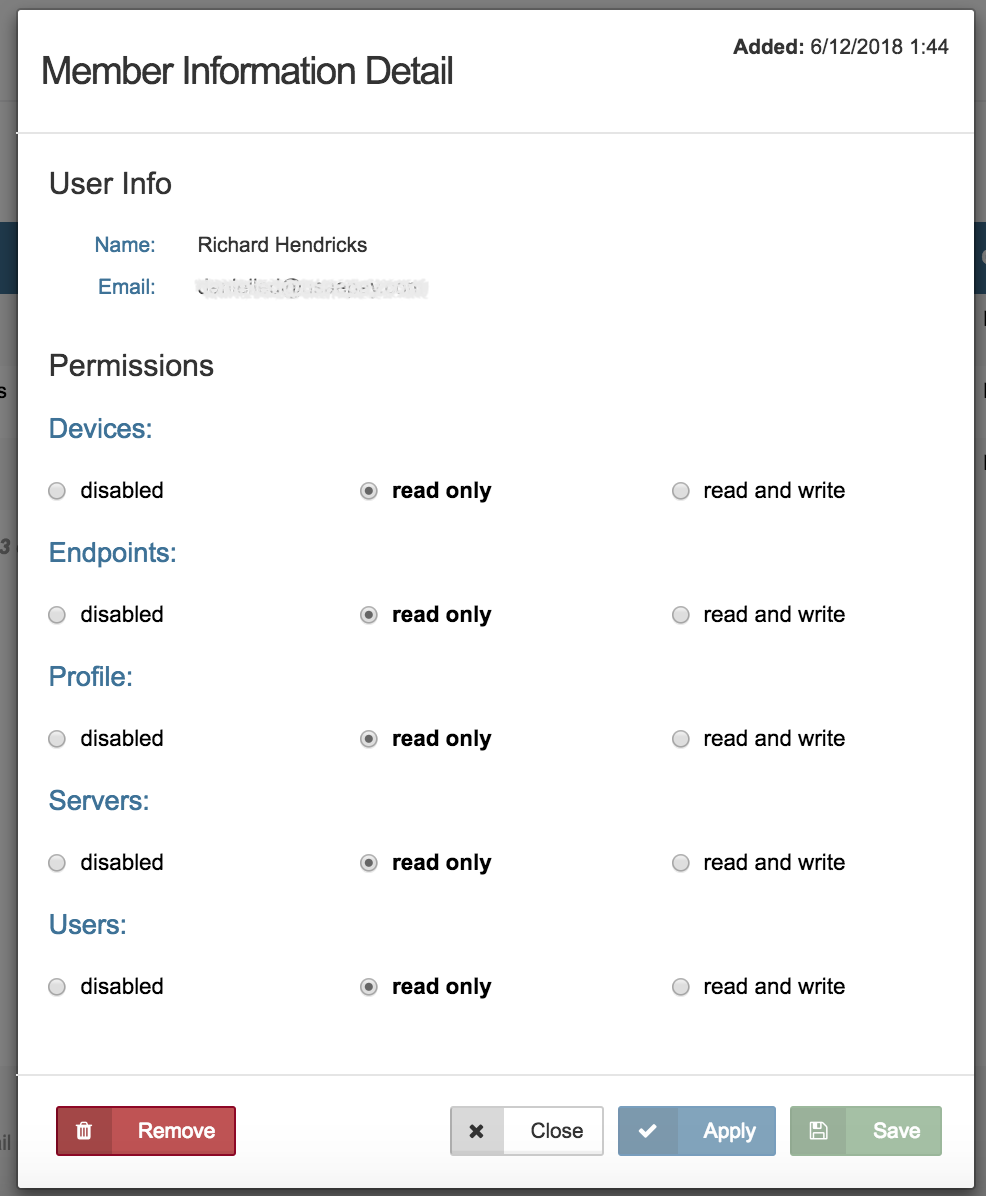
You can see the date the user was added in the top righthand corner. The user's contact name, and the email address. Permissions are described below.
Permissions
User permissions allow you to set customize the permissions for the following sections:
- Devices
- Endpoints
- Profile
- Servers
- Users
It also allows you to select one of the following for each tab for every user:
- Disabled: The user does not have access to this section. The user will not see this section in the sidebar of the developer portal.
- Read Only: The user can view this section, and the information in details, but the user cannot edit the section.
- Read and Write: The user can view and edit this section.
Invite User
If you would like to give another user access to your account in the developer portal, click the Invite User button at the top of the Members or Invites page.

Enter the email address of the person you would like to invite, adjust permissions to desired settings, and click Save.
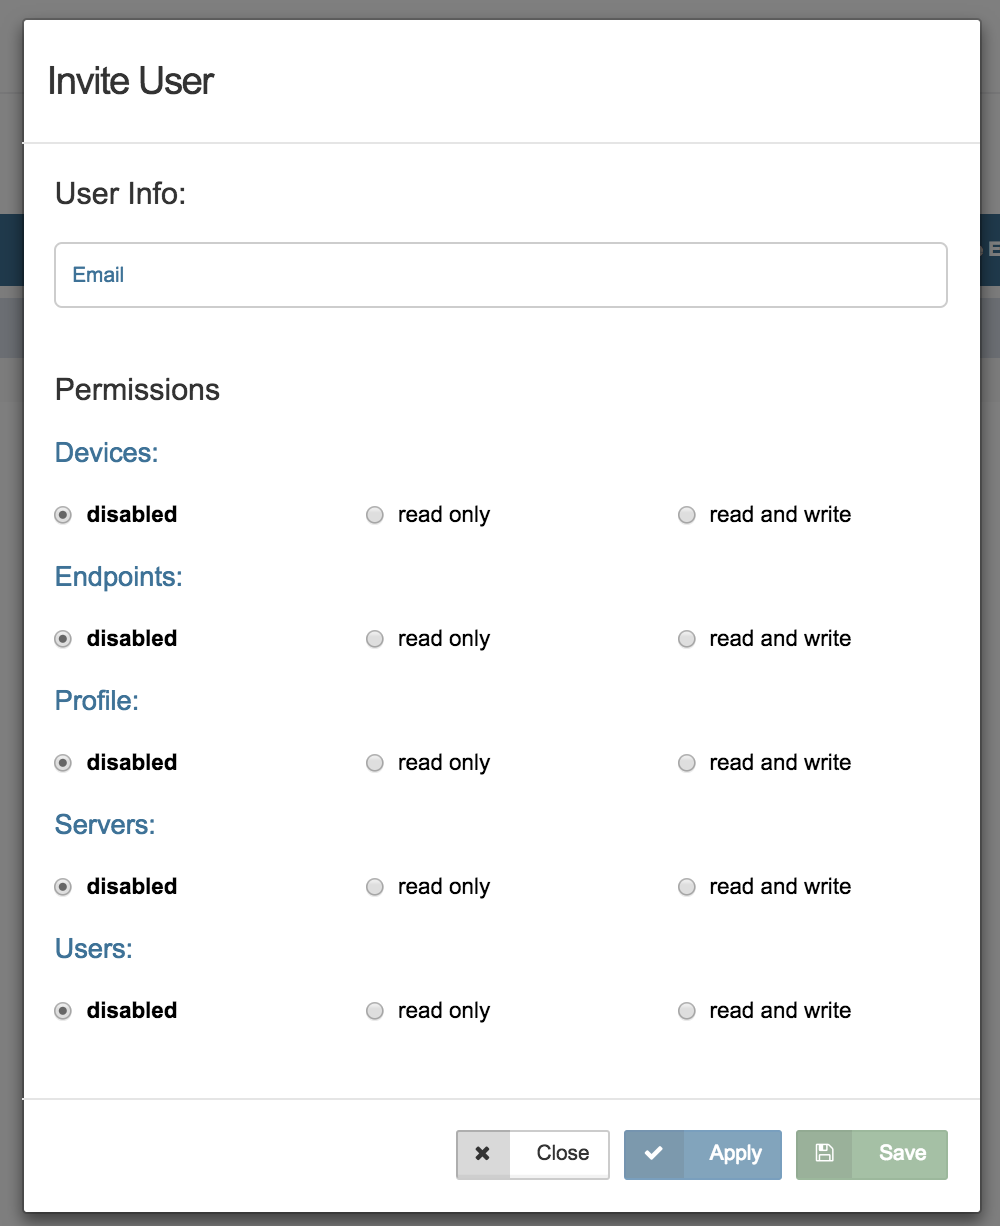
When successful you will see the message, "Invite successfully sent."
Invites
Once you have sent an invite via email, the email address will be added to the list on the Invites page.
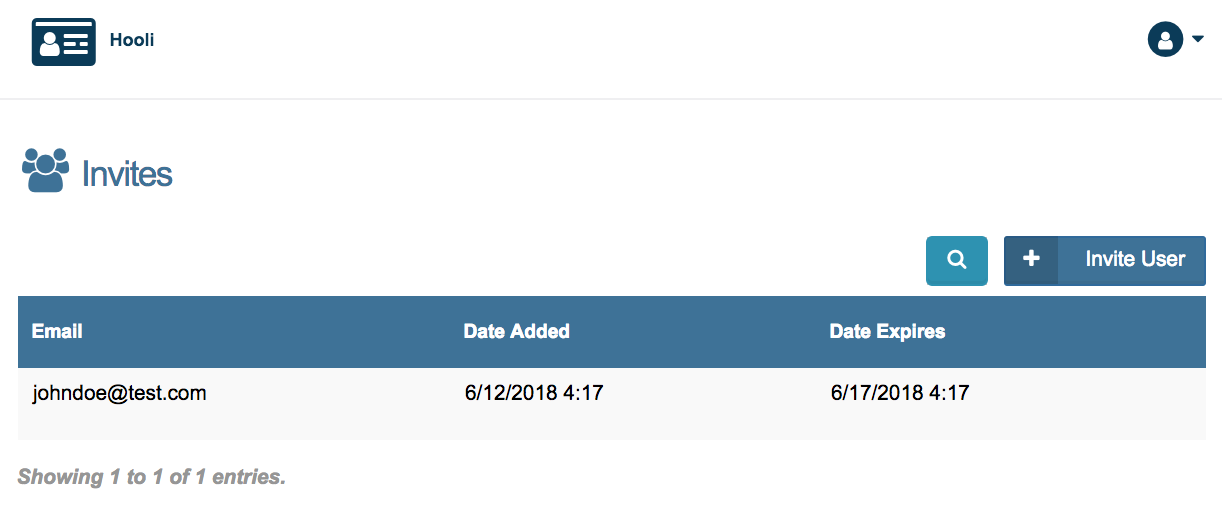
The invites page shows:
- Email- The email the invitation was sent to.
- Date Added- The date/time the invite was sent.
- Date Expires- The date/time the invite will expire. Once expired you must resend the invite before the user can login using that activation link.
Once the user logs in using the invite you sent, the user record will be moved from the Invites screen to the Members screen.
Edit Invite
You can also edit the invite by clicking on the invite before it is activated. When you edit the invite you can:
- Click "Resend Invite" to resend the invitation email.
- Adjust permissions.
- Click "Remove" to cancel the invite and remove access to this developer account.
Logging In Via Email Invite
If you receive an invitation to access an existing a developer account, you will receive an email like the one below. To login, click the link included in the email.
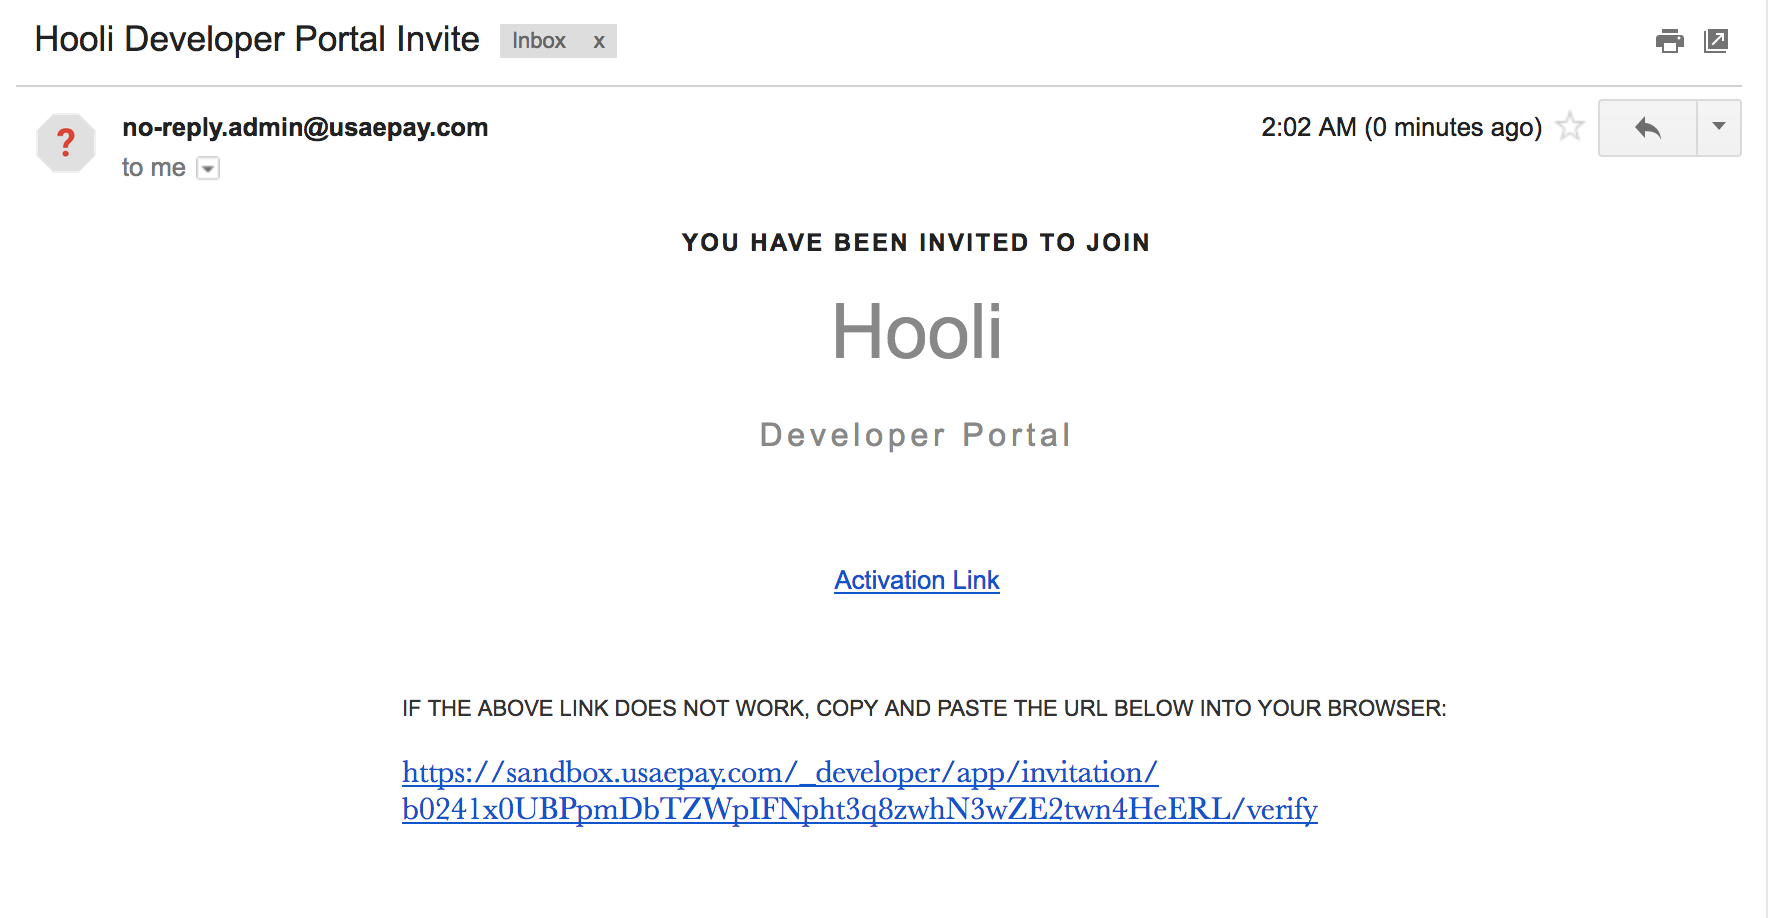
When you click the link you will be taken to the login page below.
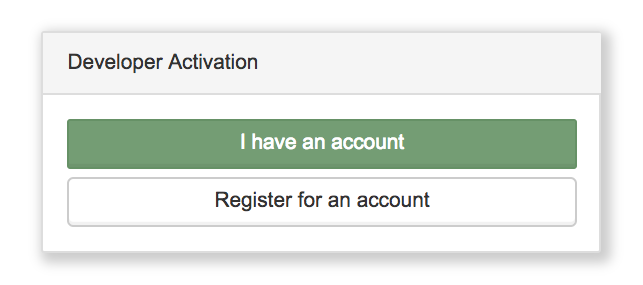
If you do not already have a developer portal user, click Register for an account and follow the instructions in the New User section below.
If you do already have a developer portal user, but just need to add access to this developer account, click I have an account and follow the instructions in the Existing User section below.
New User
When you select Register for an account, you will see the screen below.
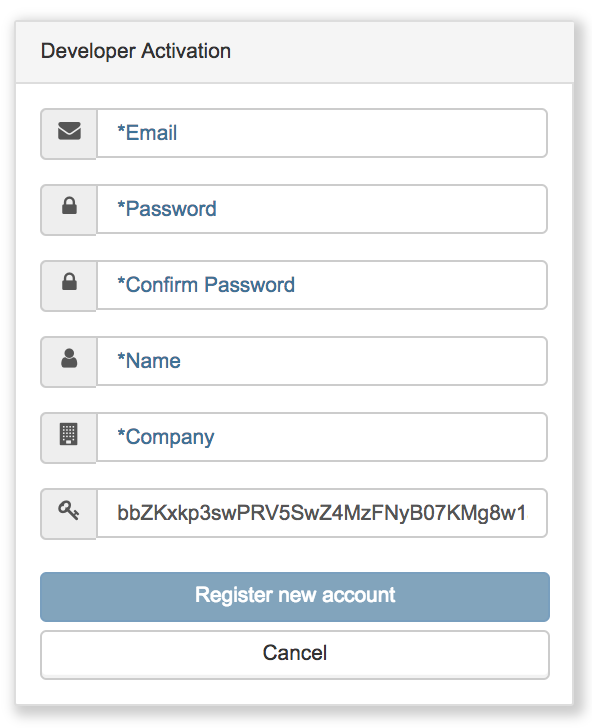
Fill out all of the available fields. The invitation key will automatically populate the key field. When form is complete, click Register New Account. You are now registered. You should now see the Dashboard page.
Existing User
When you select I have an account, you will see the screen below.
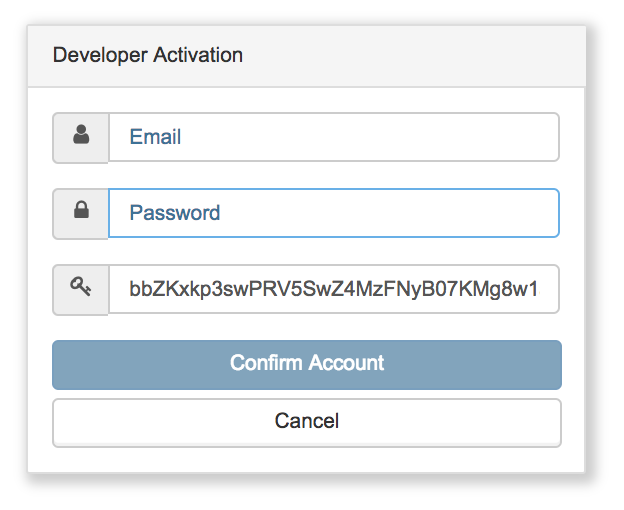
Enter your existing developer portal username and password. When form is complete, click Confirm Account. The new developer account is now linked to your developer portal user. You should now see the Dashboard page.
The company name at the top of the page should also say Select Company underneath. To navigate to another developer account, click Select Company and a dropdown menu will show the developer accounts your email is linked to.
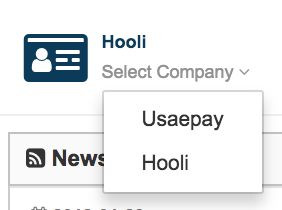
Select a different company name to navigate between the accounts attached to your user.
User Settings
Click the icon in the top right and select Edit User Profile to edit user settings.
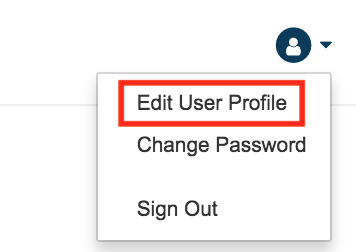
You can edit your user contact name, company name, email, or the developer accounts attached to a user in the user settings.

